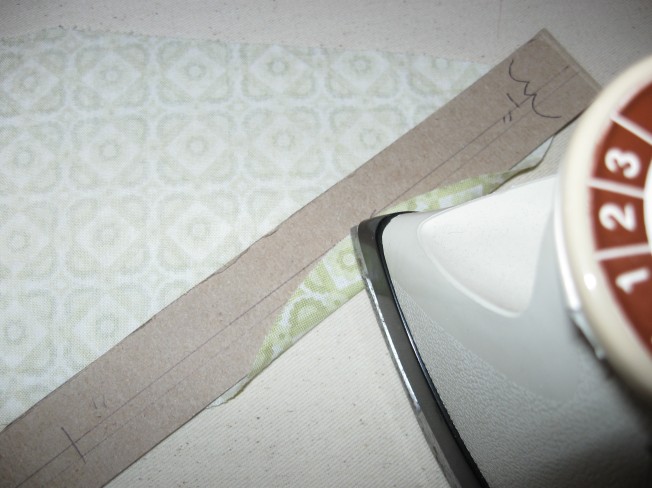
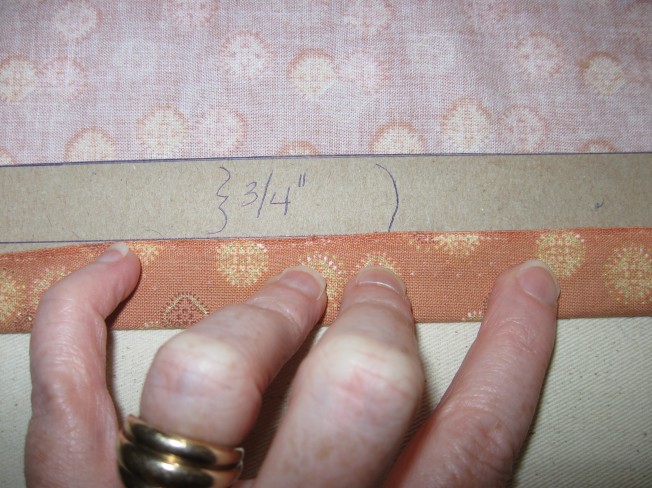
I feel a little silly writing a tutorial for my pressing guide, but I use this every time I sew. Every pattern wants you to press something under at some point, such as a sleeve hem, dress hem, facing edge, etc. I used to use a seam guide and dutifully march it down the hem every so often as I pressed, to make sure my hem was even. Now I use a cardboard pressing guide. So simple. Just fold the fabric up to the correct line on the guide, and press it all in one go.
I use thin cardboard that would otherwise go into the recycling bin. For example, I just tear a cereal box into rectangles whenever I finish it, then store the pieces in my craft room. Cereal box cardboard is perfect for making quilting templates as well.
Measure off the first straight line. Measure over to the width you desire.
Cut it off.
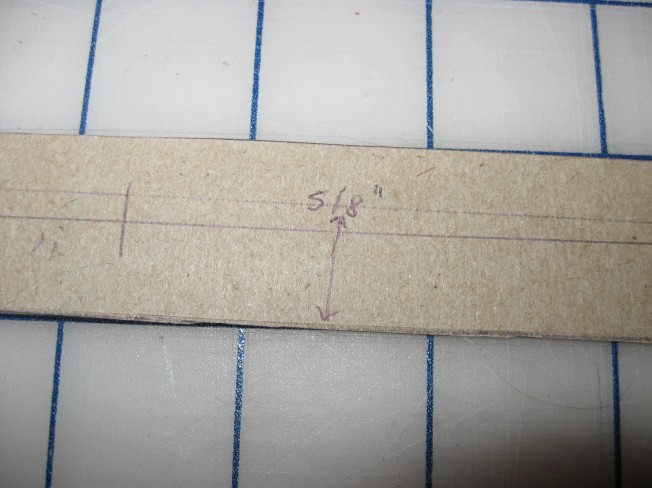
Mark the width for future reference. You might as well go ahead and mark the line at the half-width point as well, though more than two widths on the guide can get confusing.
If you mark a line that isn’t in the center, be sure to mark it clearly. I have (more than once) found myself ironing up at 3/8″ instead of 5/8″ by merely starting at the wrong end.
Here’s how I use it to press. With a long piece of cardboad you can easily fold up and press straight hems. If you have a curved area, you need to keep your guide level with the edge, angling it every few inches. A shorter guide is better for tight areas (sleeves that have already been sewn at the side seam) or curvy edges.
You can also use the guides to grade seam allowances. I would use a 1″-wide guide and mark it at 1/4″. Then you can place the guide between the seam allowance and the garment, thereby protecting the wayward scissor blade from nicking your fabric.
There you go, an indispensible, completely free tool that takes less than 5 minutes to make.


You wrote, “I feel a little silly writing a tutorial for my pressing guide.”
I said, “I feel a little silly for never thinking to do this myself.”
It’s a keeper. Thanks.
Thanks, Karel. And thanks for being the first person to comment on my new blog! Happy crafting.
What a great idea! So simple and yet it never ever crossed my mind. Completely agree with Karel.
wow, I finally made this guide with 1/4″ allowance to use on a quilt I’m making; it really helps a lot!
makes a nice crisp edge for lining up sides and embroidering along them.
thanks for the tutorial,
t–